Closing Down
Unfortunately, we're in the process of closing down Crafting4Good CIC after almost
9 years of social enterprise and impact.
Creativity is good for you, but running a busy creative nonprofit on increasingly limited resources is not. As a result the team were stretched, stressed and experiencing the very opposite of "creativity for wellbeing and mental health".
This website *may* stay online under a different name to preserve the legacy and resources created through years of funding with public money.
4 Fold Flap Card Making Tutorial
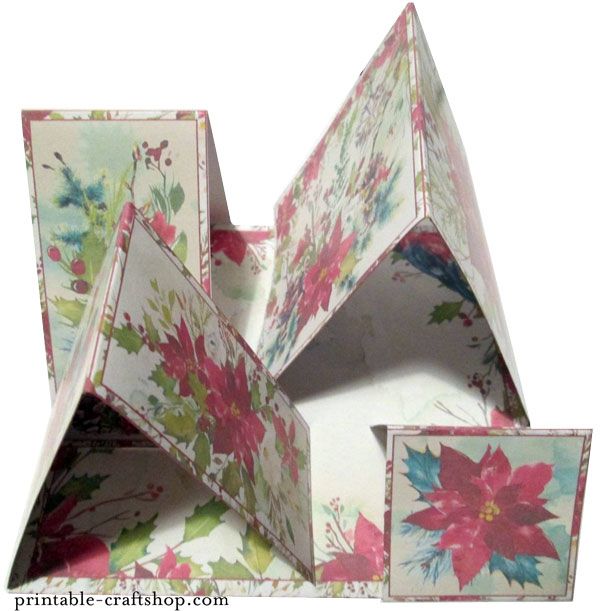
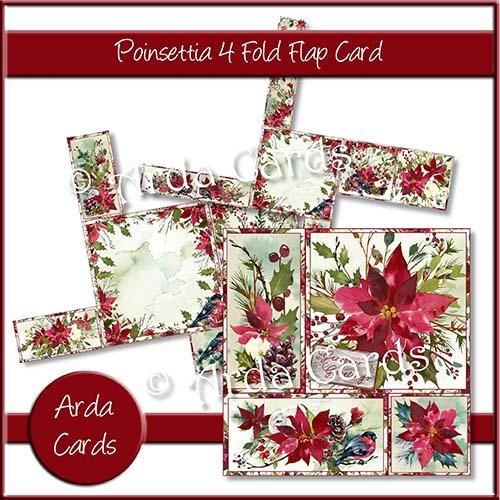
Easy card making tutorial for putting together distinctive 4 Fold Flap cards from our printables: this photo tutorial features the "Poinsettia 4 Fold Flap Card" kit, but you make all designs of this kind of card the same way. There aren't many steps for these cards because they are easier than they look! If you leave out the decoupage, the rest of the cutting can be done with a paper trimmer or even an electronic craft cutter.
Check out our collection of 4 Fold Flap Cards for instant download, including a Bundle and a Template to use as a design resource / commercial use.
Craft Supplies Needed
Our lovely Volunteer Crafter, Debbie has kindly contributed the written instructions, photos and video so you have a number of ways to follow this card making tutorial.
- Poinsettia 4 Fold Flap Card Kit Download
- Glue/tape/3D foam pads for sticking
- Score board/ruler/pencil
- Scissors/trimmer/craft knife & cutting mat
- Print on card stock for all sheets (250gsm was used here but refer to your own printer capabilities)
Time to Make (after printing sheets needed): Average 20 minutes
Instructions
♻️ Green Crafting Tip: printing the backing paper onto the reverse of sheets with lots of white space means you can then use the 'waste' for other projects
1. Print out the sheets in your kit and then, cut and score where indicated.
- Pages 1 to 5
- Backing paper
- Envelope Front & Back
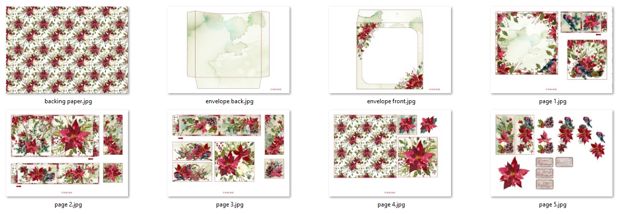 Printables in the 4 Fold Flap Card Kit
Making the Card
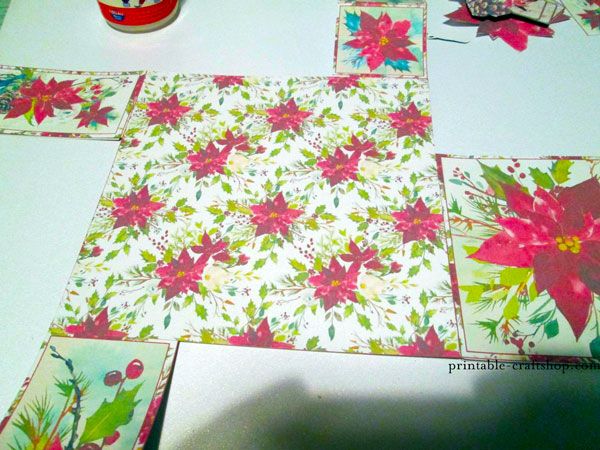
2. Stick the 4 flaps to the bottom of the base card on opposite corners (one of each side) and fold them up like easel cards.
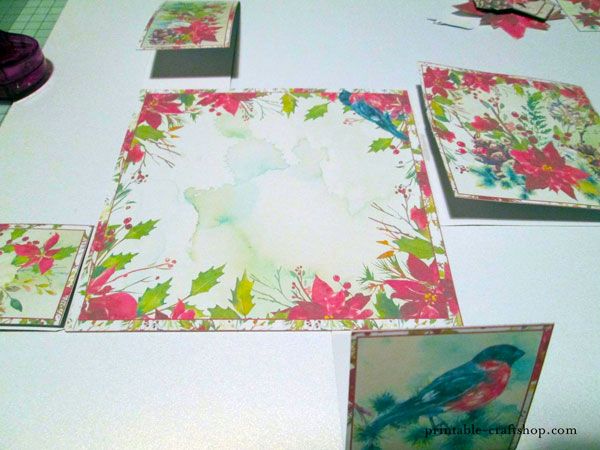 Stick panels to the underside of the base card
3. If using, add the decoupage to each section.
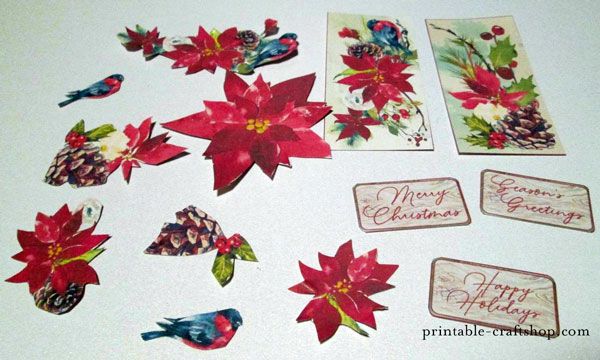 Optional Decoupage Pieces
4. Finally add the base to the back of the card so all workings are covered - how easy was that?
 Underside of the card, workings covered up
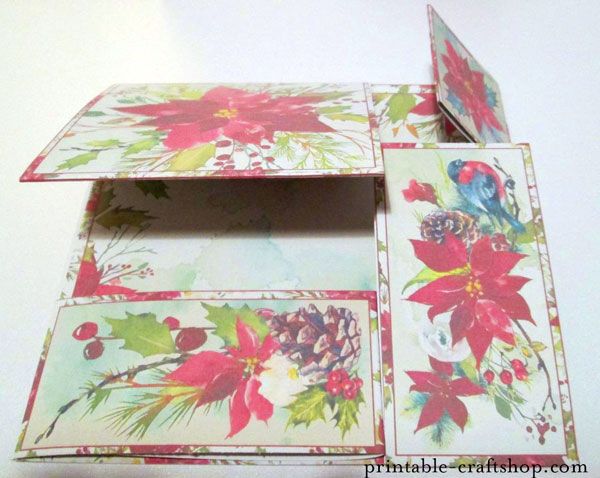 Finished, folded card
Making the Printable Envelope
5. Cut around the front and back of the envelope and stick the 3 side flaps on the envelope back to the envelope front. On the top flap, put double sided tape so you can seal the envelope when you want to.
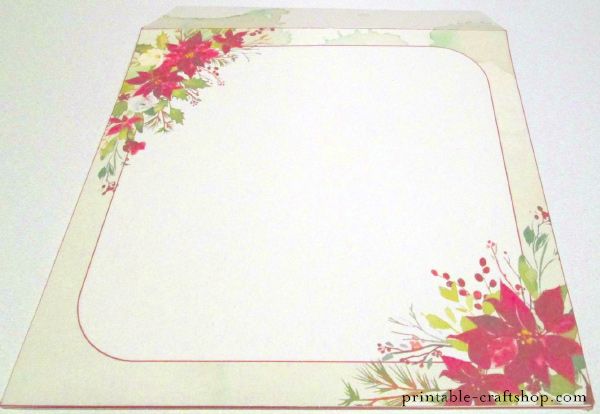 Finished printable envelope for the Poinsettia 4 Fold Flap Card
Extra Ideas for this Card Kit
We want you to get as much out of your downloads as possible, so other ideas for using this card kit could be:
- Add clear or white glitter glue to the tips of the leaves, edges of the pine cones etc as if touched with frost!
- Use the panel pieces as normal card toppers, gift tags or for other Christmas cards and projects
ℹ️ Sell What You Make - you may Sell What You Make for charity, fundraising and personal profit in your small, home-based craft business
