Closing Down
Unfortunately, we're in the process of closing down Crafting4Good CIC after almost
9 years of social enterprise and impact.
Creativity is good for you, but running a busy creative nonprofit on increasingly limited resources is not. As a result the team were stretched, stressed and experiencing the very opposite of "creativity for wellbeing and mental health".
This website *may* stay online under a different name to preserve the legacy and resources created through years of funding with public money.
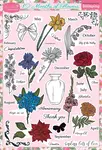
Leaf Print Tote Bags
Transform plain or ugly tote bags into personalised accessories with our leaf print tutorial. Using fallen leaves and fabric paint, this easy craft project is perfect for crafters of all ages.

You will need:
- Plain tote bags
- Fabric paint/pens/markers
- Fallen leaves
- Paintbrushes, sponges
- Paint palettes
- Acrylic boards
- Wax paper
- Small cups for water
- Surface covering like waterproof table cloth or plastic sheet

How to Make a Printed Tote Bag
- Lay your fabric flat on a protected surface.
- If it's wrinkly, iron it first – smooth fabric makes better prints!
- If you’re printing on to a tote bag, like us, slide a piece of wax paper into the bag, to prevent the fabric paint from seeping through to the other side of the bag.
Pick & Paint Your Leaf:
- Choose a leaf with clear veins.
- Place it face up (veiny side up) on the acrylic board.
- Dab paint onto the leaf using a sponge or foam brush – avoid overloading it with paint!
Stamp the Fabric:
- Carefully lift the leaf and place it paint-side down on the fabric.
- Press firmly, smoothing it out with your fingers or a rolling pin.
- Gently lift the leaf to reveal the print!
Let It Dry & Set the Paint:
- Leave it to dry for at least 24 hours.
- Heat-set the print by following the instructions on your chosen medium.

Try something different:
- Place a serrated or distinctly shaped leaf down without paint on it, and swipe the paintbrush over the leaf and on to the fabric to create a negative space design.
- Layer different leaf prints and colours for a forest effect.
- If using leaves with lots of moisture, press them between paper towels first to remove excess water.
- Use fine tipped fabric pens to add extra details to your leaves, sharpen up the outline, or add twigs or flower buds to the picture.

Got too many tote bags laying around the house? Use some cotton, canvas, upholstery scraps or calico fabric and make a patch to sew over an unsightly logo or stain
♻️
It's worth doing a swatch test of your paints or pens on a scrap of fabric similar to the one you'll be painting on, so that you can see how the colours will look once they dry. This is also a great way to practise your brushing or stamping techniques before you start on the real thing.
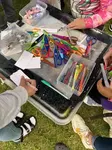
We used fallen leaves for this workshop because it was a blustery, rainy September morning, and we wanted to bring a bit of nature and colour to an otherwise drab day spent indoors. You might find your inspiration elsewhere!
What we learned
Painting right up until 10 minutes before the end of the workshop didn't leave much time for any of the paint to dry. We didn't have any space to allow the prints to dry overnight, so our totes had to be wrapped in paper to take home.
You Might Also Like:
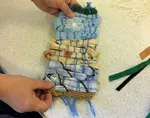
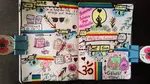
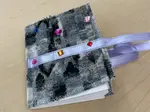
Weaving The Unremembered
Weaving used to remember The Unremembered from our World War 1 project with Big Ideas
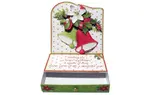
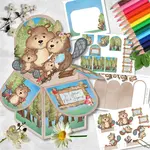
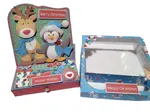
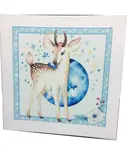
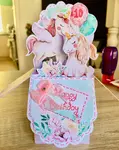
Christmas Easel Card Making Tutorial
Card making tutorial for one of our Christmas Easel Cards with optional Gift Drawer - printables with a purpose that help society profit!
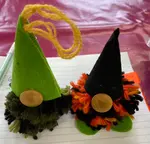
12 Easy Ways to Make DIY Gonks – Fun & Simple Craft Ideas
Discover 12 creative ways to make DIY gonks using simple materials – a fun and easy craft for all skill levels.
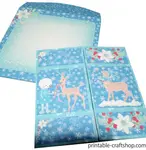
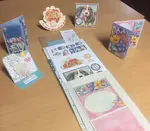
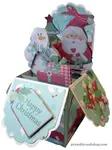
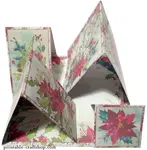
Card Making Tutorial - Never-Ending Card
Never-ending card making tutorial using downloadable "printables with purpose"
Free Craft Supplies
We give free craft supplies to individuals and community groups in the Wakefield (UK) area primarily, subject to surplus
Charity-Backed Activities for the Elderly with Crafty Printables
Liven up the weekly routine of seniors with creative, reusable card-making printables. Catering to a mix of capabilities, it’s an affordable and fun solution!
Video Card Making Tutorials
Video card making tutorials to go with our printables, from ArdaCards
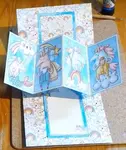
Card Making Tutorial: Acetate Box for Easel Cards
Card making tutorial for making an acetate box lid for a handmade card so you can see the contents. Printables with purpose: crafting for good!
Easy Printable Greeting Card Ideas
Try an easy printable greeting card if you're in a hurry, or new to handmade cards and want something really easy.

Recent Articles
-
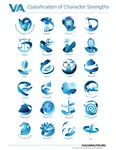
The 24 Strengths of a Person - Discover Yours!
Feb 28, 25 01:32 PM
 The 24 strengths of a person, measured scientifically in psychology, are their 'superpowers' that get them through life
 -
Art & Craft Ideas: Activity Library
Feb 27, 25 04:03 PM
 Art and craft ideas: self care activities for groups, adults, elderly, kids
 -
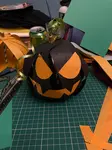
DIY Paper Pumpkins: Easy Craft Tutorial for Festive Decor
Feb 27, 25 10:58 AM
 Learn to create charming paper pumpkins with our step-by-step guide, perfect for autumn decorations


Crafting4Good CIC is a not-for-profit Community Interest Company, also trading as Crafting for Good, limited by guarantee and registered in England and Wales Company No.10690435.
Registered office: Suite 4, Unity House, Westgate, Wakefield, WF1 1EP